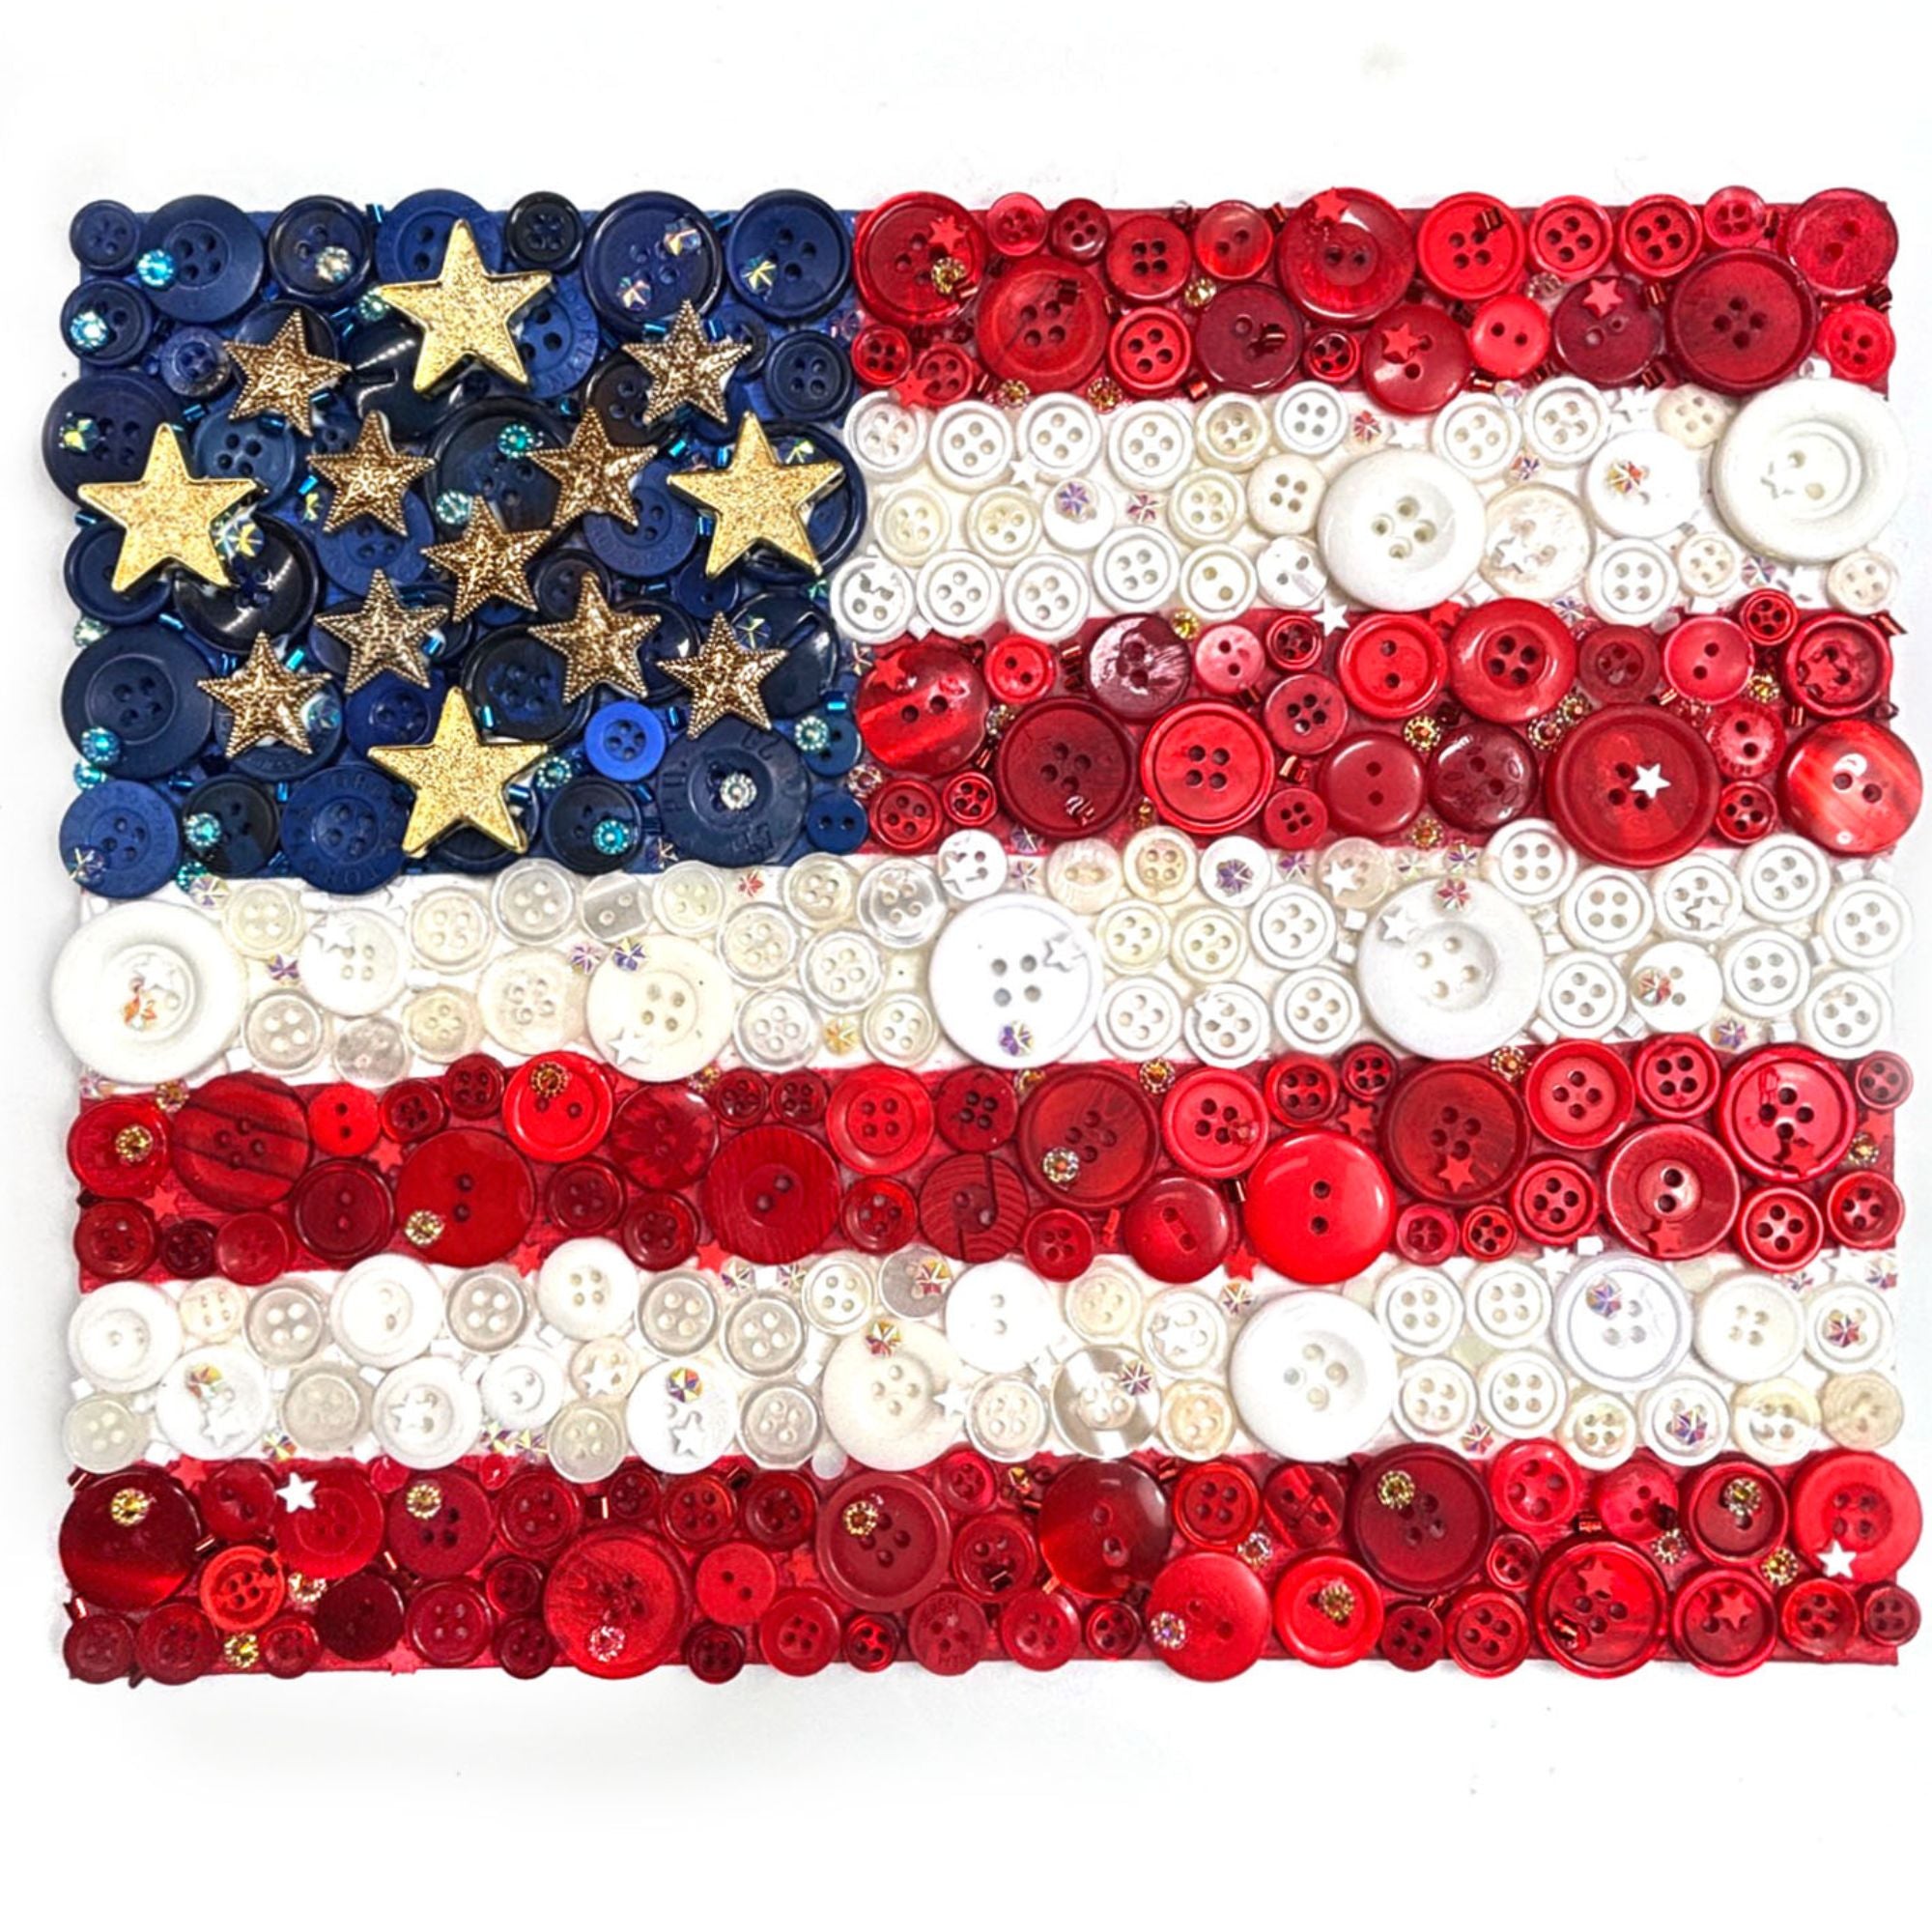
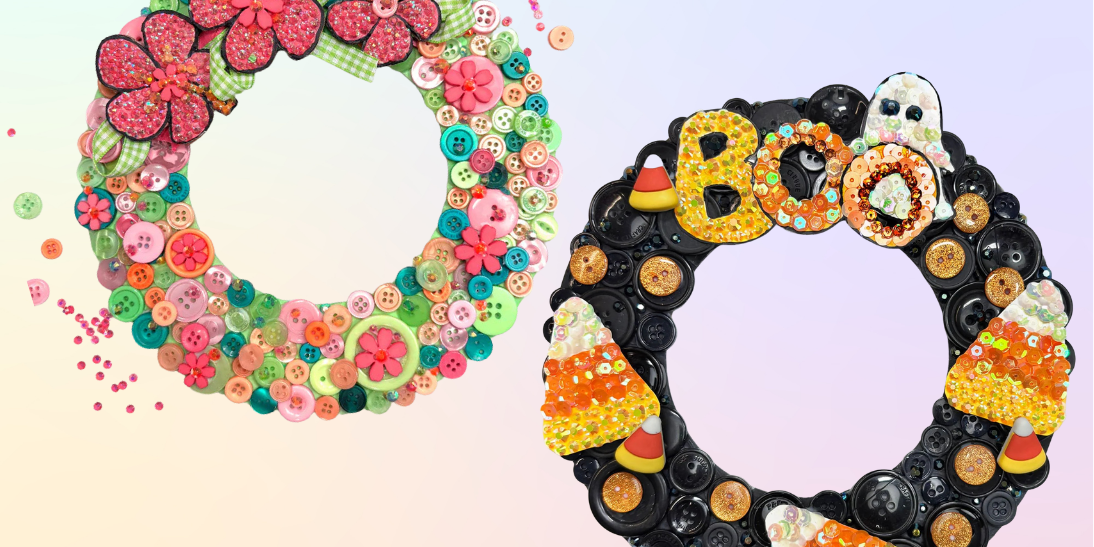
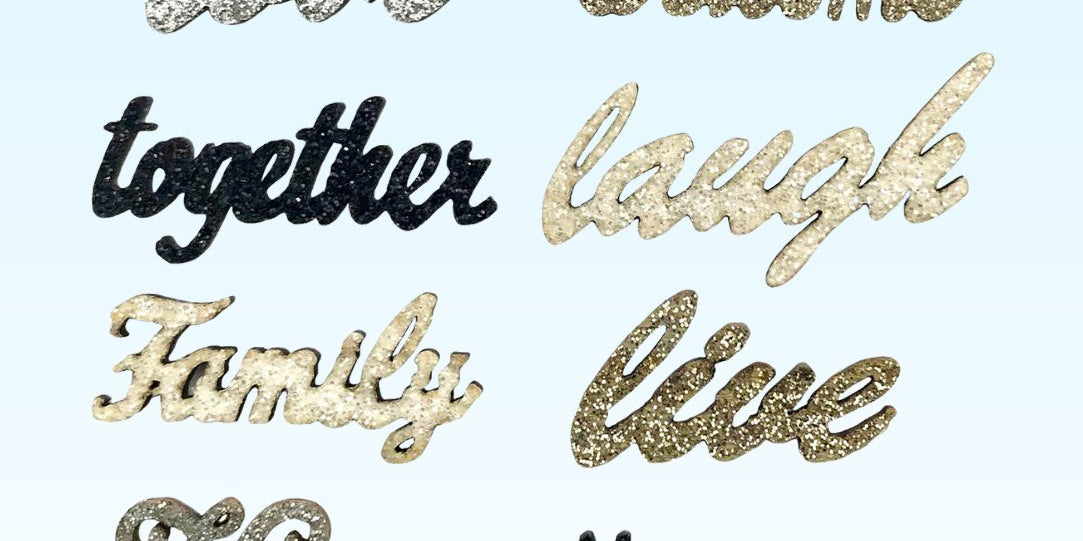


Create Something Beautiful With Buttons
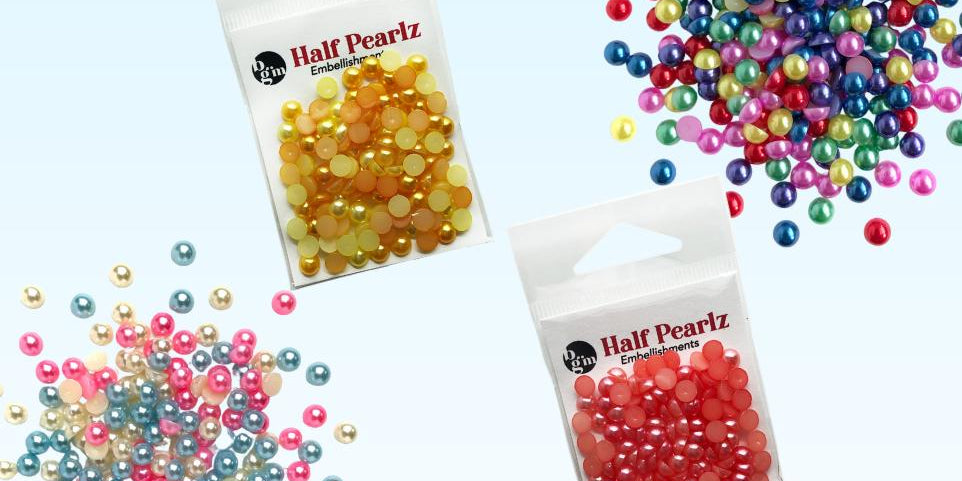
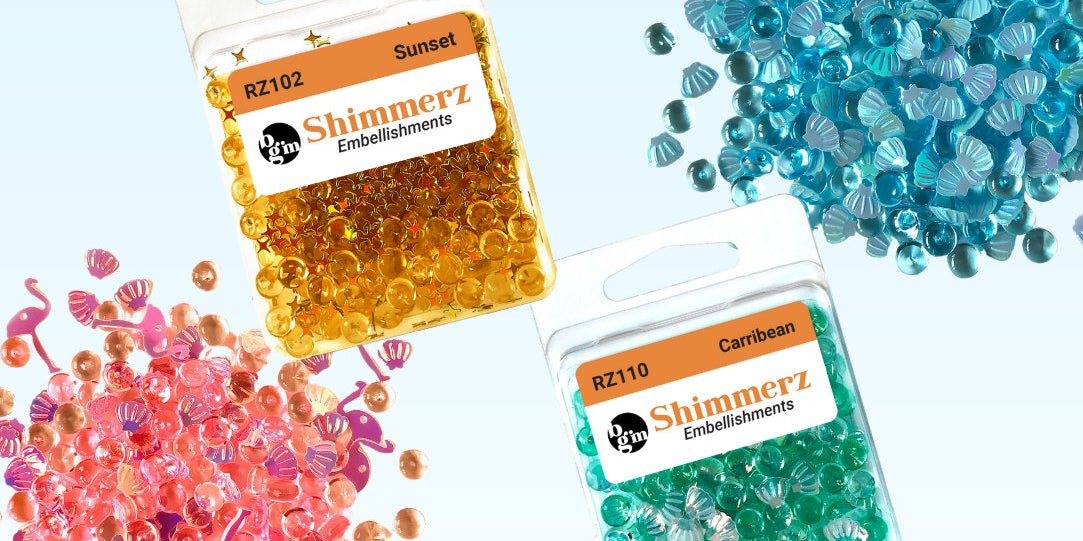
All-in-one craft kits, embellishments, & ideas to bring your projects to life.


All-in-one craft kits, embellishments, & ideas to bring your projects to life.
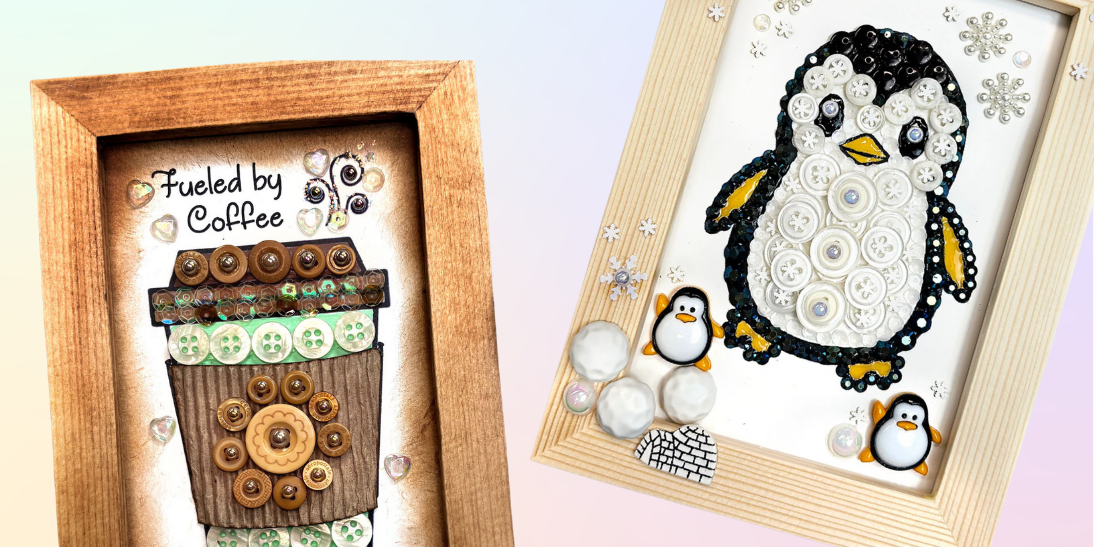
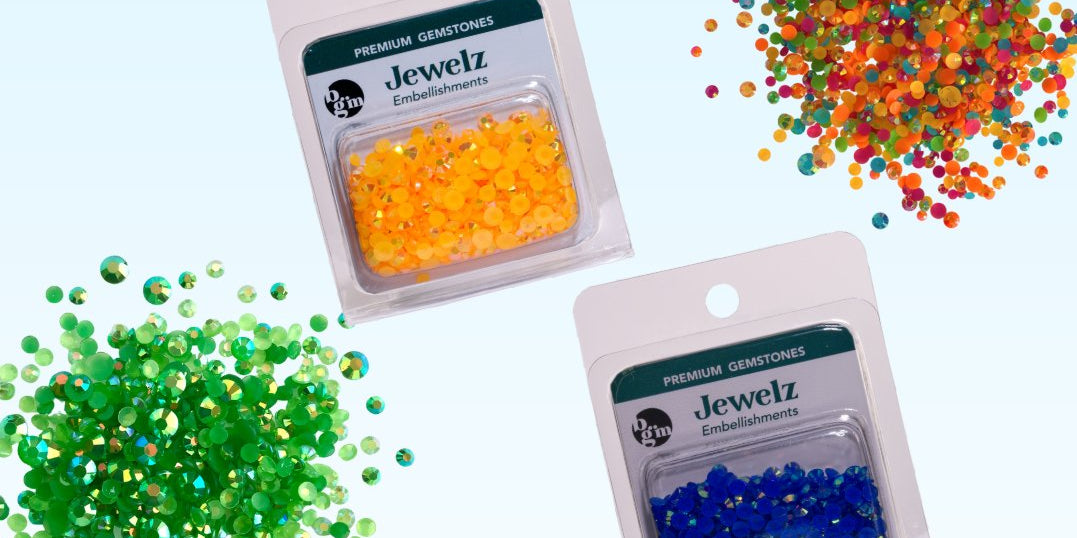
Beginner-friendly projects made to be simple & fun.


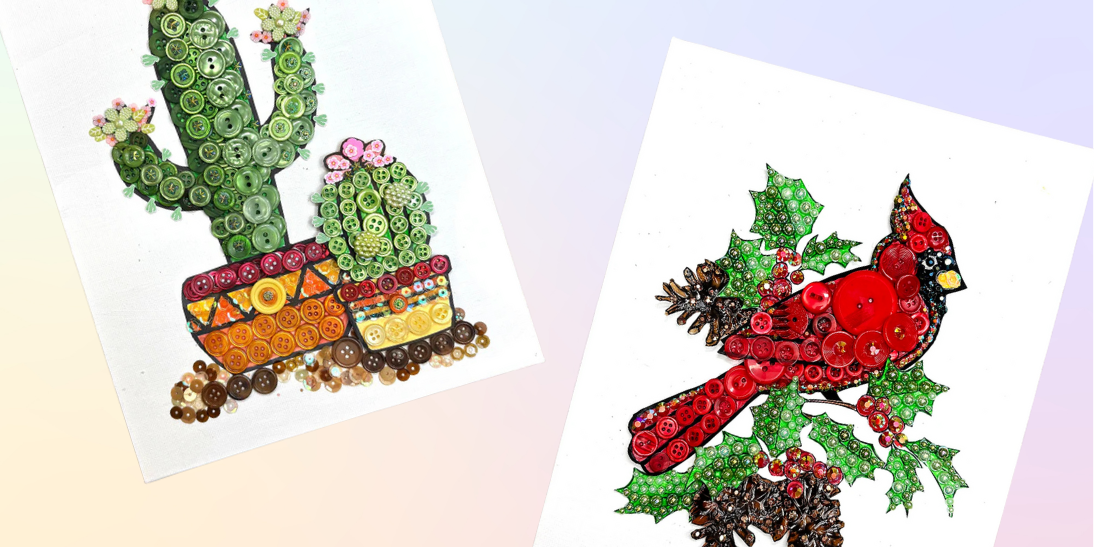
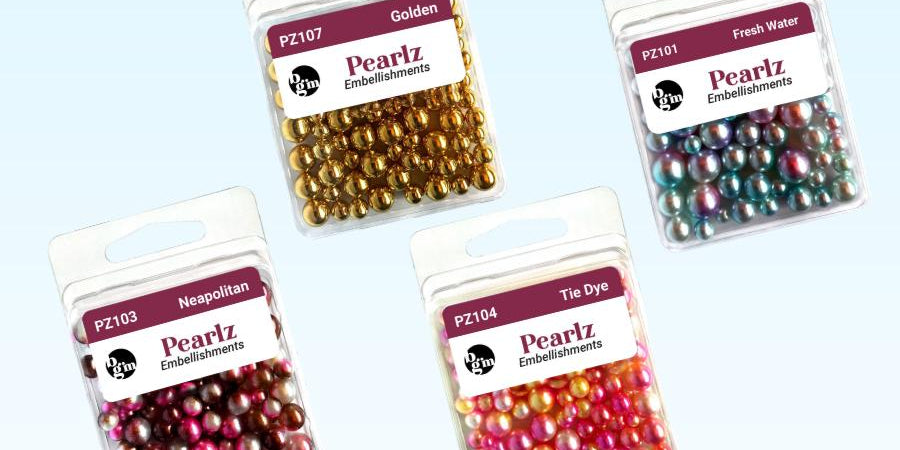
Inspiration for your next handmade project.


Submit your button project for a chance to be featured by BGM and receive a $10 Amazon gift card if selected.

Make perfectly clean cuts with this craft cutting tool. The diagonal design and high quality blades allow this cutter to make a clean, precise cut every time. Perfect for removing the shank ( loop ) from the back of our buttons.
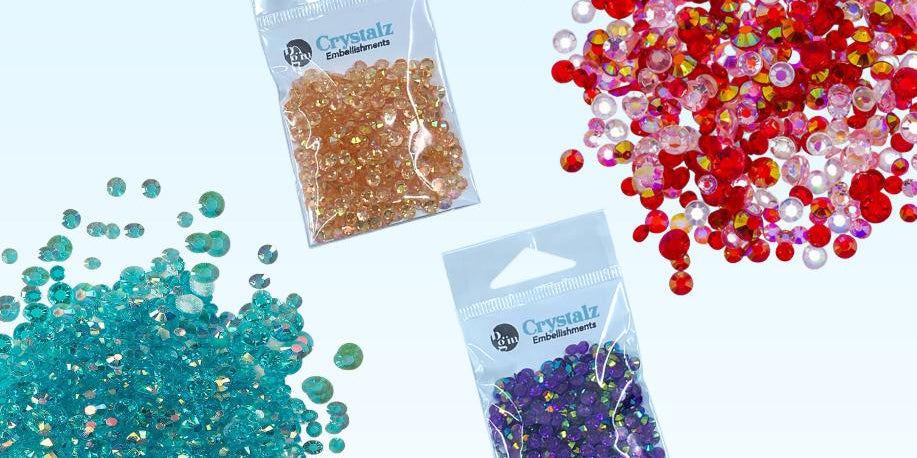
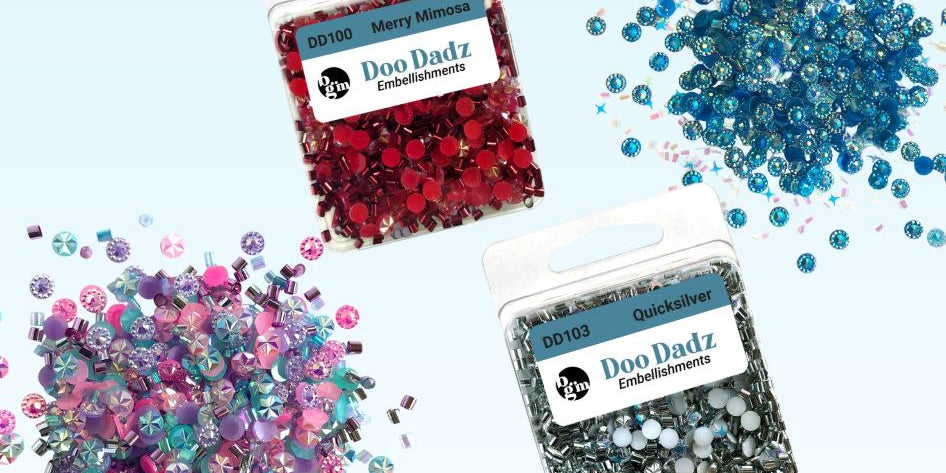
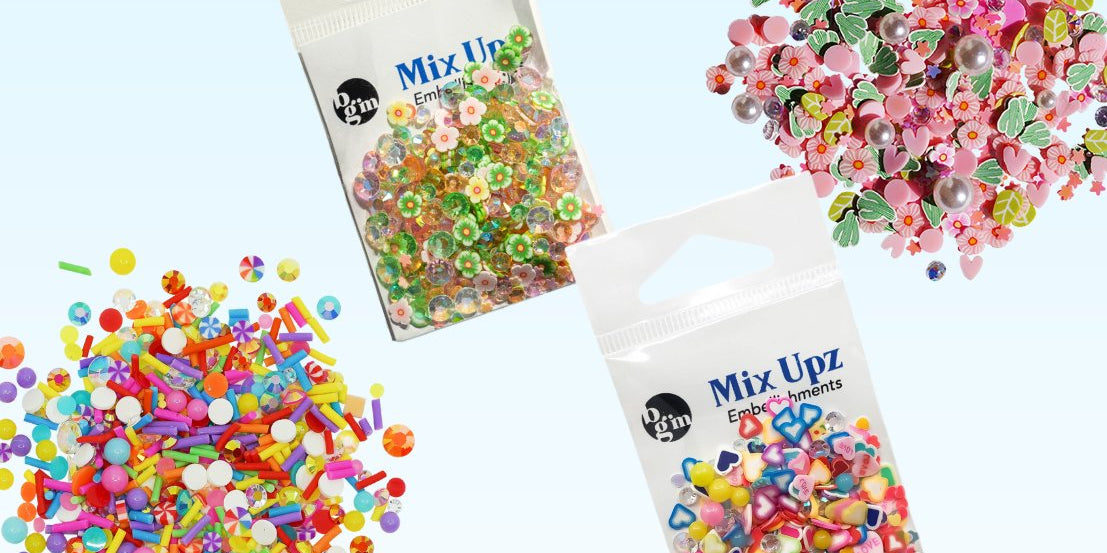
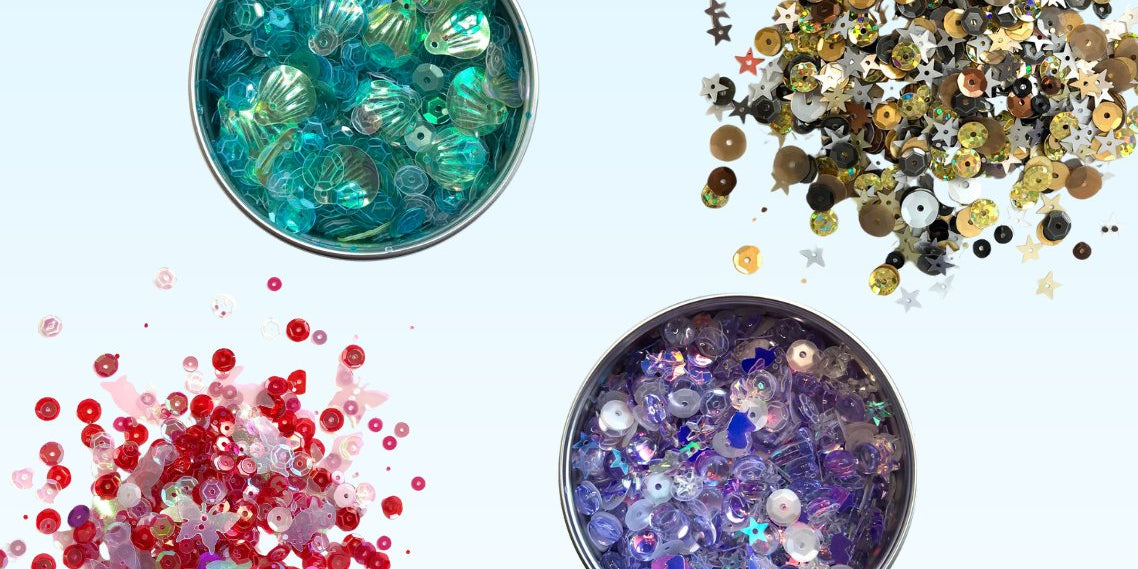
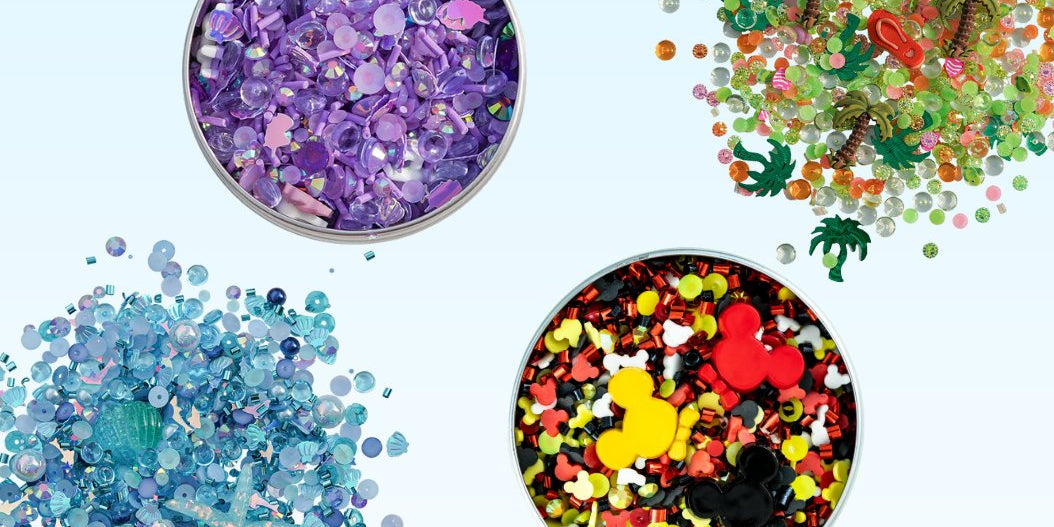
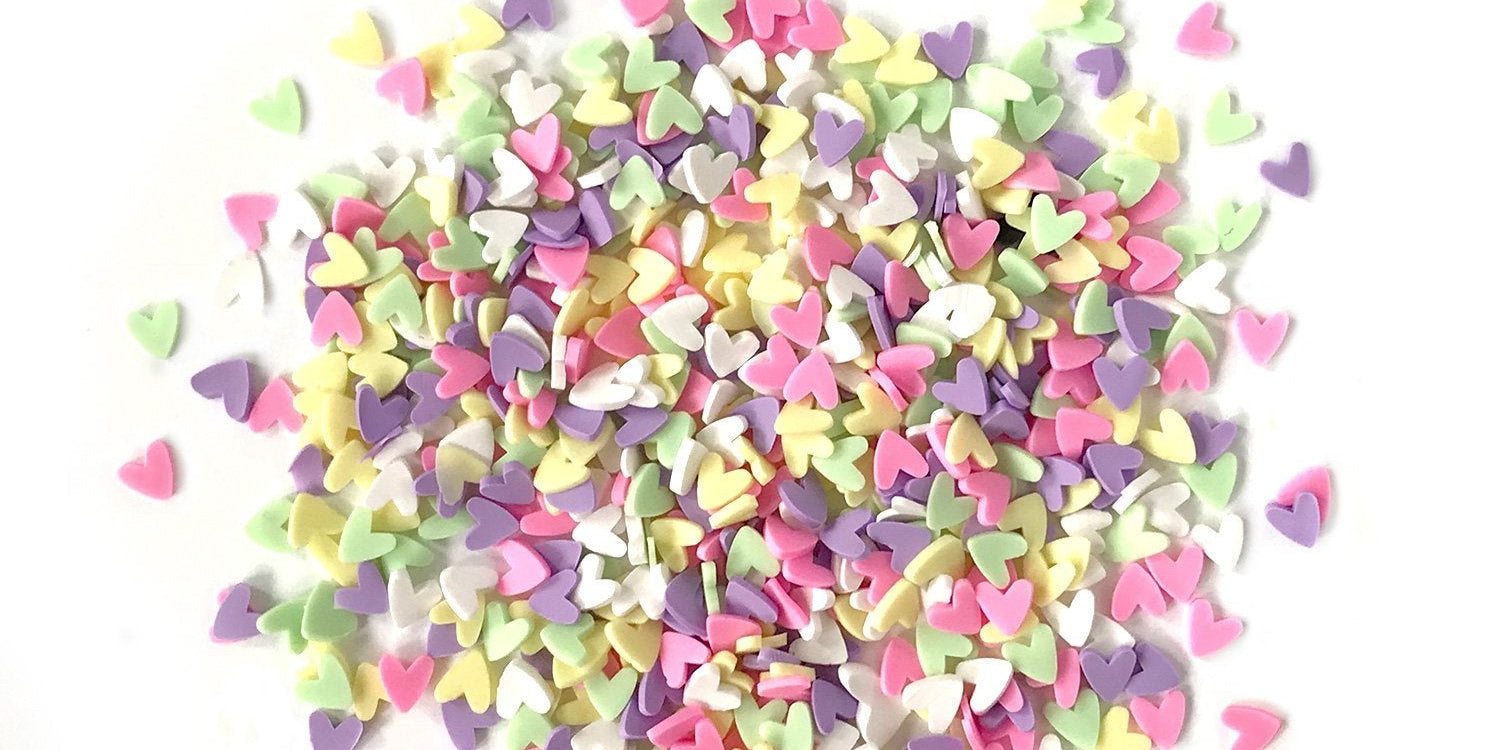
I love this mix for shaker card filler because it makes a nice sound and adds a bit of sparkle. It has some variety of size without being too large and pair great with Sprinkletz polymer clay shapes.
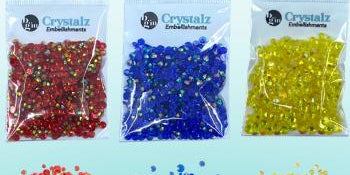
Love the primary colors exactly what I was looking for
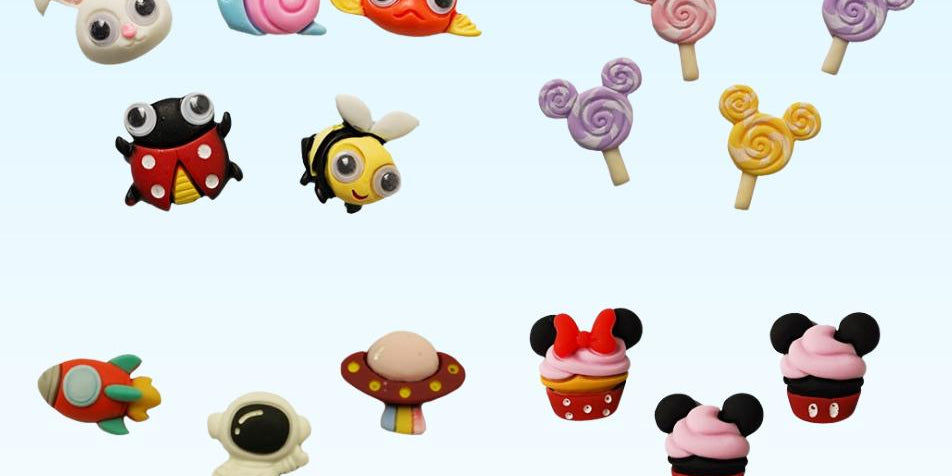
I have so many ideas for these wonderful little guys I bought extras.
I liked these so much, i bought a couple more package.
These are fun and will look great on my project
Very Cute.
Love products
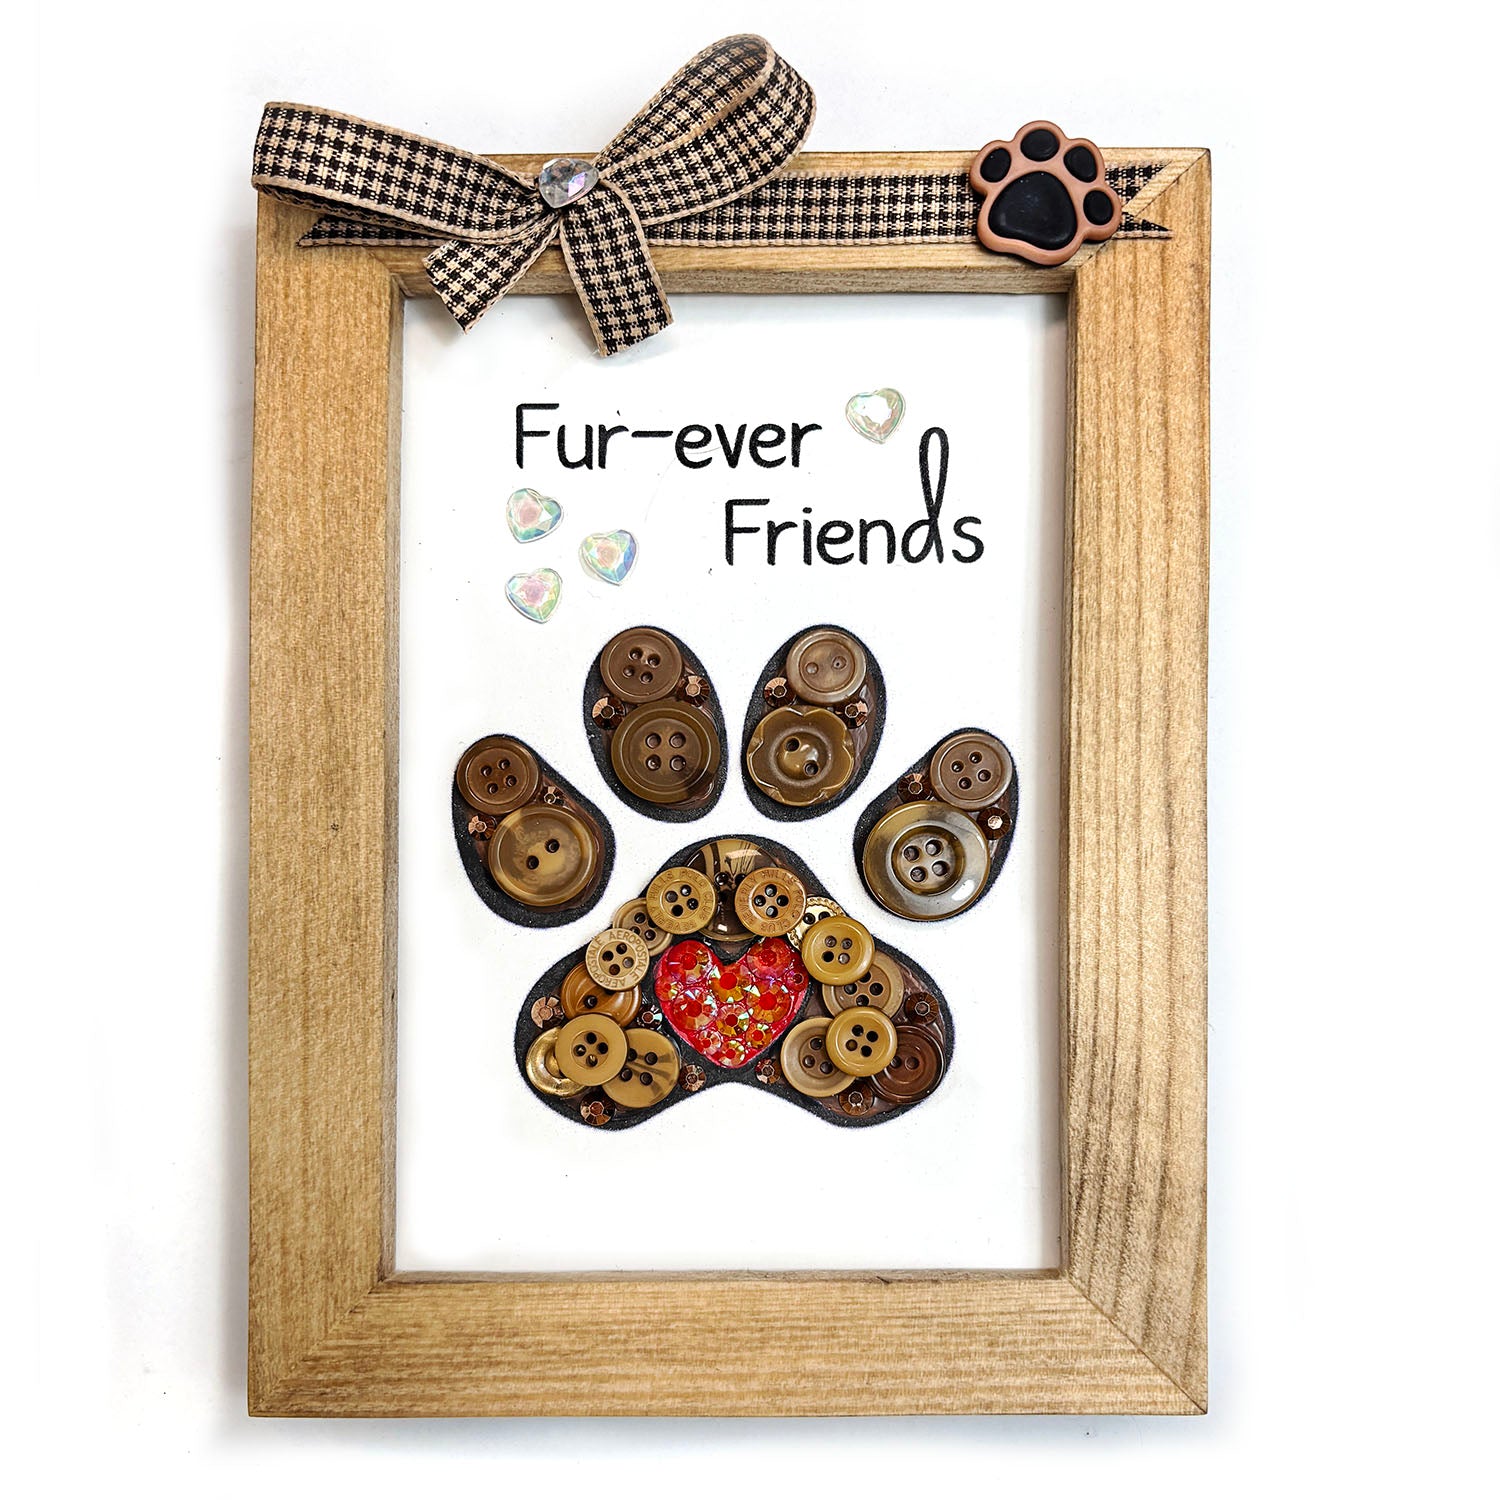
Fun with heart
Beach Bum Buttons | Tropical Beach-Themed Craft Buttons for Scrapbooking, Cards & Summer Crafts
I really enjoy ordering from here! They have great products and I really like the Halloween buttons that I ordered from here
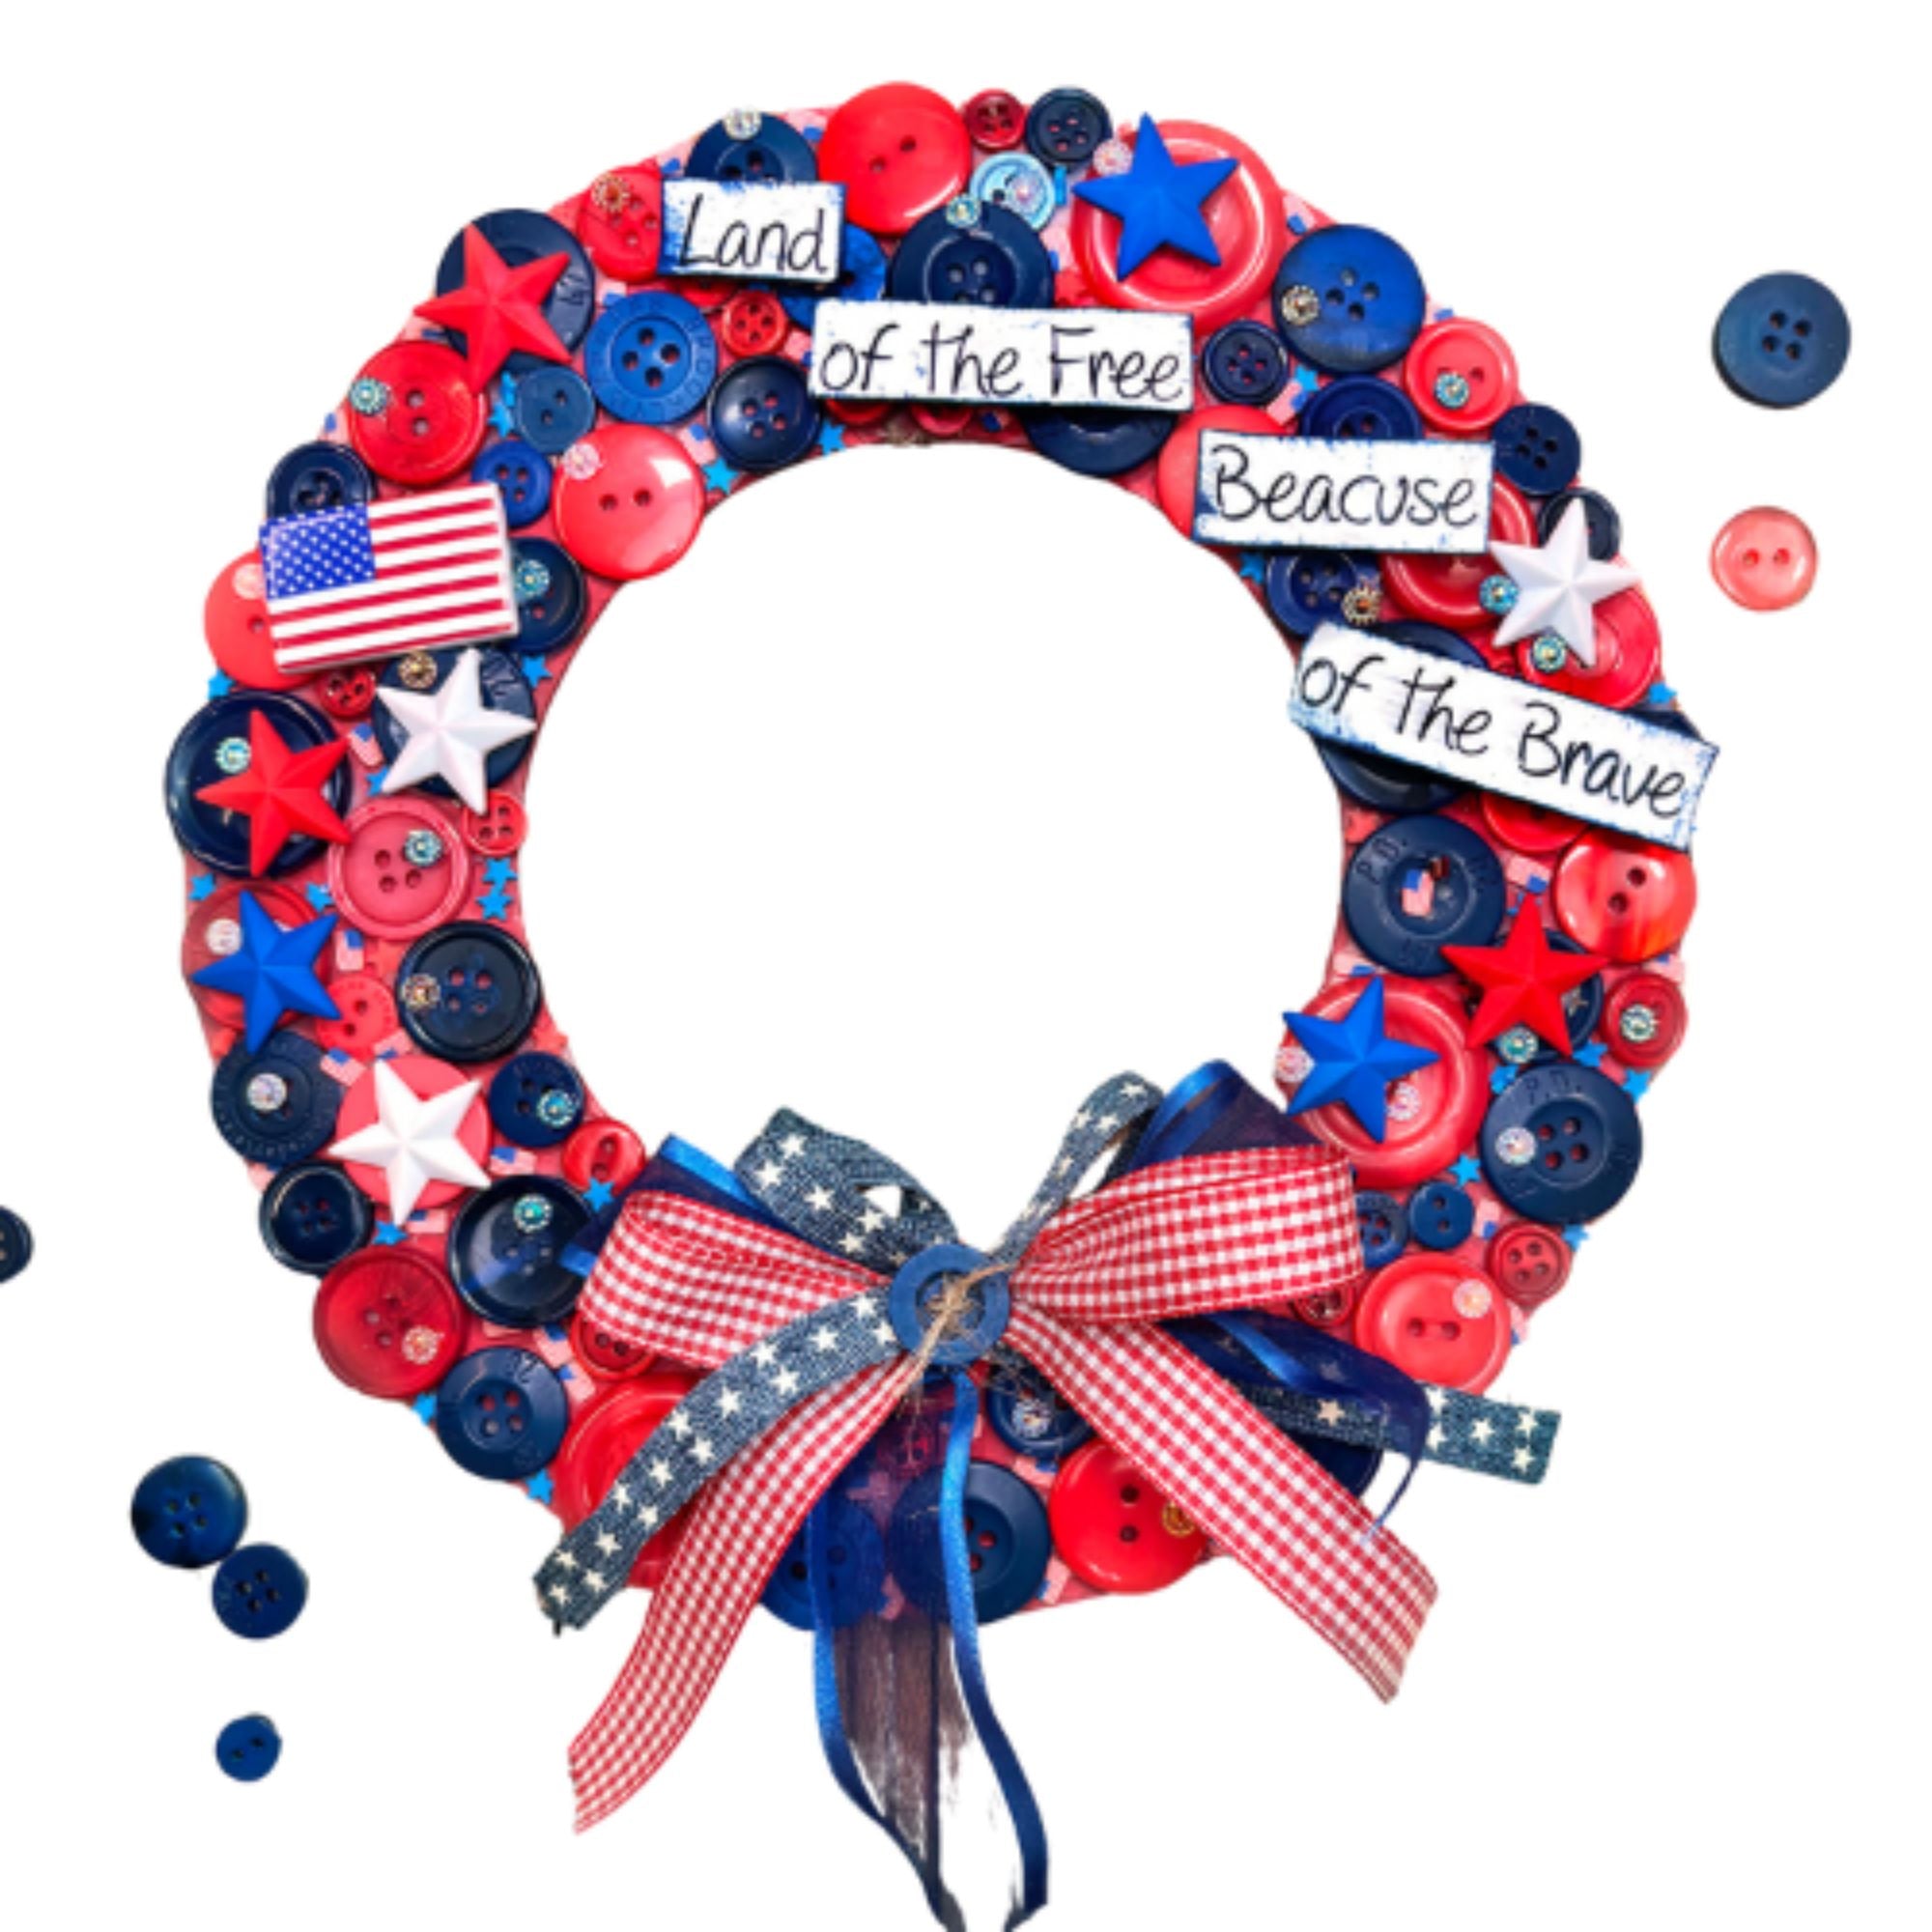
Haven’t used buttons but when I get to a project I will use them . Really looking for wooden star and patriotic buttons
Great products, quick shipment.
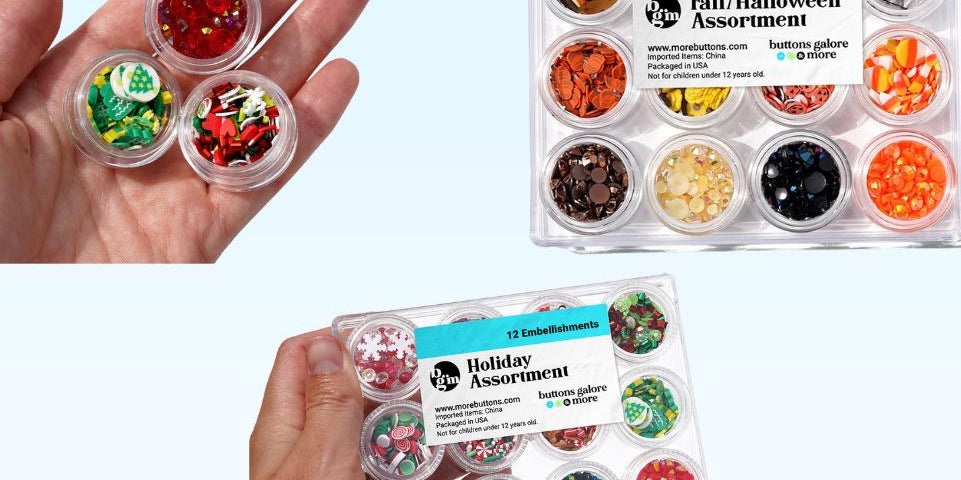
These are fun halloween buttons ! You get a lot of different buttons to choose from
Will use buttons on fabric envelopes.
Can’t wait to do this and hang it this fall